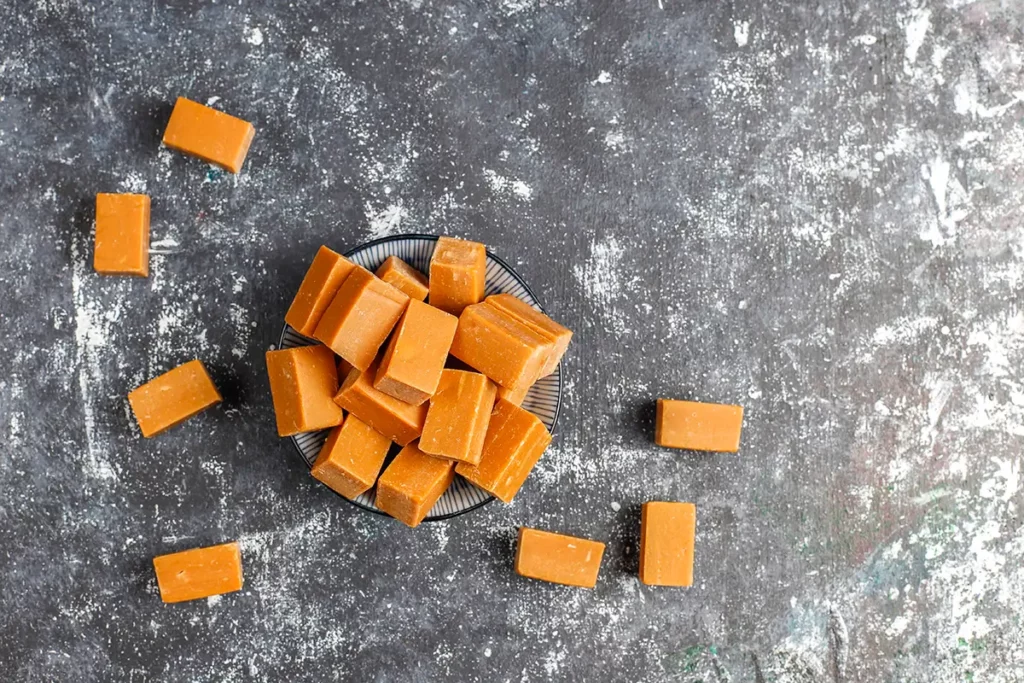
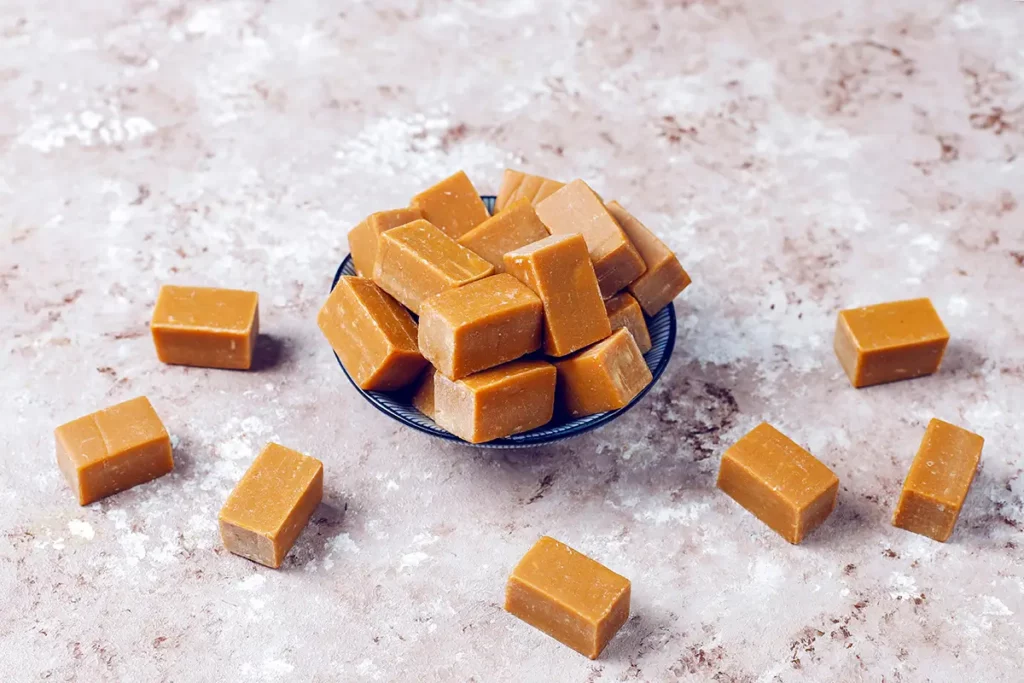
Fudge, that creamy, melt-in-your-mouth confection, holds a special place in the hearts of sweet lovers everywhere. But what’s the secret behind making truly good fudge? It’s not just about following a recipe to the letter; it’s about understanding the science and art behind this beloved treat. In this comprehensive guide, we’ll delve into the essentials of fudge-making, from the basic ingredients to the advanced techniques that can elevate your fudge from good to unforgettable. Whether you’re a seasoned confectioner or a curious novice, this article promises to unveil the secrets to achieving perfect fudge, every time.
Part 1: Introduction to Fudge Making
The Enchanting World of Making Perfect Fudge
Fudge, with its rich history and creamy texture, is a confection that transcends mere dessert status. It’s a symbol of celebration, a comfort food, and a testament to the joy of cooking. This guide is designed not just to share recipes but to immerse you in the art and science of fudge making. From the humble origins of fudge to the intricate chemistry that makes it so delightful, we’ll explore every facet of creating this beloved treat.
A Brief History of Homemade Fudge Tips
The story of fudge is as sweet and complex as the confection itself. Originating in the late 19th century, it is believed to have been a happy accident—a batch of caramels gone wrong, or “fudged.” This serendipitous mistake gave birth to a confectionery icon. Over the years, fudge has become a staple in American culture, especially around the holidays and in tourist destinations, where it’s often made in large copper kettles and sliced into thick squares.
The Cultural Significance of Fudge
Fudge is more than just a treat; it’s a cultural artifact, a piece of culinary history that varies from one region to another. In some places, it’s a holiday tradition, passed down through generations. In others, it’s a craft, with artisans competing to create the creamiest, most decadent varieties. Fudge’s versatility in flavors and ingredients means it can be customized to suit any taste or occasion, making it a universal favorite.
The Objectives of This Guide
This guide aims to do more than teach you how to make fudge. It’s here to inspire you to experiment with flavors, understand the chemistry behind the confection, and perfect your technique. Whether you’re a novice looking to make your first batch or an experienced confectioner eager to refine your skills, this guide will provide you with the knowledge and inspiration you need to create perfect fudge.
- Understanding the Basics: We’ll start with the fundamental ingredients and equipment you’ll need, breaking down the role each component plays in the fudge-making process.
- Mastering the Technique: From cooking to cooling, every step in the fudge-making process is crucial. We’ll guide you through each phase, offering tips to ensure success.
- Exploring Variations: Once you’ve mastered the classic recipe, we’ll introduce you to a world of flavors and textures, from nutty and crunchy to smooth and swirled.
By the end of this guide, you’ll not only know how to make exquisite fudge but also understand the nuances that make it such a special and beloved treat. So, let’s embark on this sweet journey together, ready to explore the magic of fudge making.
Part 2: The Basics of Good Fudge
Mastering the Basics: Ingredients for Creamy Fudge Recipe
To begin with, you’ll need the following ingredients, which form the backbone of most classic fudge recipes:
- Sugar: 2 cups of granulated white sugar for sweetness and structure.
- Cream: 1 cup of heavy cream to provide the creamy texture.
- Butter: 1/4 cup of unsalted butter, adding richness.
- Flavoring: 1 teaspoon of vanilla extract for a classic flavor. Maple extract is a great alternative for a different twist.
- Optional: 1/2 cup of chopped nuts (walnuts or pecans) or dried fruits for texture and flavor.
Directions for Making Perfect Fudge: A Step-by-Step Guide
Subsequently, follow these steps to ensure your fudge turns out perfect every time:
- Prepare Your Pan: Line an 8-inch square baking pan with parchment paper, leaving an overhang on the sides for easy removal.
- Combine Ingredients: In a heavy-bottomed saucepan, combine the sugar, cream, and butter. Heat over medium heat, stirring constantly, until the sugar has dissolved and the mixture is smooth.
- Cook the Fudge: Increase the heat to medium-high and bring the mixture to a boil. Insert a candy thermometer and let the mixture cook without stirring until it reaches the soft-ball stage, between 112°C to 114°C (234°F to 237°F).
- Cooling Phase: Remove the saucepan from the heat and let it cool without stirring to about 110°F (43°C). This is crucial for the texture.
- Add Flavoring and Optional Ingredients: Once cooled, add the vanilla extract (or maple extract) and optional nuts or dried fruits. Stir vigorously with a wooden spoon until the fudge thickens and loses some of its gloss.
- Pour and Set: Pour the fudge into the prepared pan and smooth the top with a spatula. Let it cool completely at room temperature.
- Cutting the Fudge: Once set, use the parchment paper overhangs to lift the fudge out of the pan. Cut into small squares with a sharp knife.
Great fudge requires more than a recipe; it’s about understanding the science. Sugar crystal size and temperature control are crucial for perfect texture. Master the basics to explore fudge variations and flavors. Stick to classics or try new additions; making and sharing fudge is rewarding.
Part 3: Fudge Making Secrets: Elevating Your Recipe

Creative Variations and Additions: Exploring Fudge-Making Secrets
Creating the perfect batch of fudge is akin to conducting a symphony—every element must harmonize. Here’s how to tackle common challenges with expertise:
- Graininess: For instance, graininess often stems from uncontrolled crystallization. To combat this, ensure sugar is fully dissolved before the mixture boils. A smooth start is crucial. Introduce a damp pastry brush to wipe down the sides of the pan, preventing sugar crystals from falling into the mixture and seeding further crystallization.
- Soft Fudge: On the other hand, fudge that fails to set is typically undercooked. Achieving the soft-ball stage, precisely between 112°C to 114°C (234°F to 237°F), is non-negotiable. This temperature ensures the right concentration of sugar and water for a firm yet pliable texture.
- Hard Fudge: Conversely, fudge that’s too hard has ventured beyond the soft-ball stage. Vigilant monitoring with a candy thermometer can prevent this. If you suspect your fudge is heading towards rock territory, a splash of cream added during the beating process can introduce moisture back into the mixture, softening it slightly.
Elevating Your Homemade Fudge
Furthermore, to elevate your fudge from good to extraordinary, consider these advanced techniques:
- Flavor Layering: Beyond vanilla, explore the depths of flavor with espresso powder, orange zest, or a pinch of sea salt. These additions can layer complexity into your fudge, making each bite a discovery.
- Texture Contrasts: Incorporate texture through mix-ins like toasted nuts, dried fruit, or crushed cookies. These not only add a crunch but also make each piece visually appealing.
- Double Boiling for Smoothness: For an ultra-smooth texture, consider melting your sugar, butter, and cream over a double boiler before boiling. This gentle heat can help dissolve sugar crystals thoroughly, setting the stage for a velvety finish.
Troubleshooting Tips
Even with the best intentions, fudge can be finicky. Here are some troubleshooting tips for common issues:
- If your fudge is too soft: Reheat gently, adding a little more sugar, and bring it back to the soft-ball stage. This can help evaporate excess moisture and firm up the texture.
- If your fudge is too hard: Melt it down with a touch of milk or cream, stirring gently. This reintroduces moisture, softening the fudge without compromising flavor.
- If your fudge is grainy: Melt it down and add a spoonful of corn syrup. The corn syrup interferes with crystallization, promoting a smoother texture upon setting.
By mastering these advanced techniques and solutions, you’re not just making perfect fudge; you’re crafting an experience. Each batch is a testament to your skill and creativity, a sweet reward for your efforts, and a delight for those lucky enough to enjoy it.
Part 4: Preserving and Storing Fudge
Ensuring Freshness
Importantly, to keep your fudge tasting as delicious as the day it was made, proper storage is key. Fudge’s enemies are air, moisture, and temperature fluctuations, all of which can affect its texture and flavor. To combat this, wrap your fudge tightly in wax paper, cling film, or aluminum foil. This barrier helps protect it from air and moisture.
Short-Term Storage
For short-term storage, place the wrapped fudge in an airtight container. It can be kept at room temperature for up to 1-2 weeks. Ensure it’s stored in a cool, dry place away from direct sunlight or any heat sources, which can cause the fudge to soften or melt.
Long-Term Storage
If you’re looking to keep your fudge for longer, freezing is an excellent option. Properly wrapped and sealed in an airtight container, fudge can be frozen for up to 3 months. When you’re ready to enjoy it, let the fudge thaw slowly at room temperature while still wrapped. This slow thawing helps prevent condensation from forming on the fudge, which can affect its texture.
Reviving Fudge
If your fudge has become a bit too hard or dry over time, there’s a simple trick to revive it. Place the fudge in an airtight container with a slice of bread or a damp paper towel, then seal the container. After a day, the fudge will absorb moisture from the bread or paper towel, becoming softer and more palatable.
Sharing and Gifting
Fudge makes a wonderful gift or sharing treat because of its rich flavor and indulgent texture. When gifting fudge, consider packaging it in decorative boxes or tins lined with parchment paper. This not only makes for a beautiful presentation but also helps protect the fudge during transport.
By following these storage and preservation tips, you can ensure that your fudge remains a delightful treat that can be enjoyed at its best or shared with friends and family as a thoughtful homemade gift.

Part 5: FAQs
How do you make fudge creamy not grainy?
To ensure your fudge is creamy rather than grainy, the key lies in the size of the sugar crystals. Smaller crystals result in a smoother texture. Achieve this by carefully controlling the cooking process to avoid recrystallization of sugar. After boiling, let the fudge cool undisturbed until it reaches about 110°F (43°C) before beating it. This prevents large sugar crystals from forming. Additionally, using a candy thermometer ensures precise temperature control, crucial for that creamy consistency.
What makes a great fudge?
Great fudge is characterized by its smooth, creamy texture and rich flavor. Achieving this involves a balance of the right ingredients, precise cooking, and proper cooling and beating techniques. Quality ingredients are a must—real butter, high-quality cream, and pure vanilla extract can make a significant difference. The cooking process should bring the mixture to the soft-ball stage without overcooking, and the fudge should be beaten just enough to encourage small sugar crystals to form, ensuring that melt-in-your-mouth texture.
What not to do when making fudge?
When making fudge, there are several pitfalls to avoid:
- Do not stir the fudge once it starts to boil. Stirring can cause sugar crystals to form on the sides of the pan and fall into the mixture, leading to a grainy texture.
- Avoid undercooking or overcooking the fudge. Use a candy thermometer to ensure it reaches the correct temperature.
- Do not skip the cooling phase before beating. Cooling allows the fudge to thicken slightly, which is essential for achieving the right texture.
- Be careful not to overbeat the fudge. Beating for too long can make the fudge too hard.
Which is better for fudge evaporated or condensed milk?
Regarding the choice between evaporated milk and condensed milk depends on the recipe and the desired sweetness and texture. Evaporated milk, with its lower sugar content, produces a less sweet fudge and allows the cook to control the amount of sugar added. Condensed milk, on the other hand, is sweeter and thicker, contributing to a richer texture and flavor. For a classic, less sweet fudge, evaporated milk is often preferred. However, for a creamier and richer fudge, condensed milk can be the better choice. Ultimately, it comes down to personal preference and the specific recipe you’re following.
Part 6: Conclusion
In conclusion, making perfect fudge is a journey of discovery, blending science and art in equal measure. By understanding the basics, mastering the techniques, and experimenting with variations, you can elevate your fudge from merely good to truly great. Remember, the key to success lies in practice and patience. Ultimately, each batch is an opportunity to refine your skills and explore new flavors.

